

If your kid always gets bumps, scrapes, and bruises on their face right before you want to get some photos of them, you might have wished you’d had some editing secrets in your back pocket. Today, I am going to give you some Photoshop basics by explaining how can you get Photoshop on your computer, what is Adobe Camera Raw (and why I love it so much) and I’ll discuss the tools you definitely need to know.
How to get Photoshop
Back in the “good ol’ days” (when I was in college), you had to purchase a CD-ROM to install Photoshop and it was expensive. Today, we have a much better option. Adobe now has all its products for sale through a subscription. I use the “Photography Plan” and get both Photoshop and Lightroom for $10/month.
What is Adobe Camera Raw
First, you have to read my post all about Why I Shoot in RAW. The main reason comes down to Adobe Camera Raw (ACR). ACR is actually a “plug-in” that is included with Photoshop. When you open a RAW file in Photoshop, it will open in ACR. ACR looks and feels very similar to Lightroom. You can correct the white balance, exposure, cropping, and minor blemishes without ever having to actually open up Photoshop. It’s amazing. However, if you do have some heavy editing to do, maybe a blemish you need to touch up, you can easily open it up in Photoshop for ACR and get to the heavy lifting.
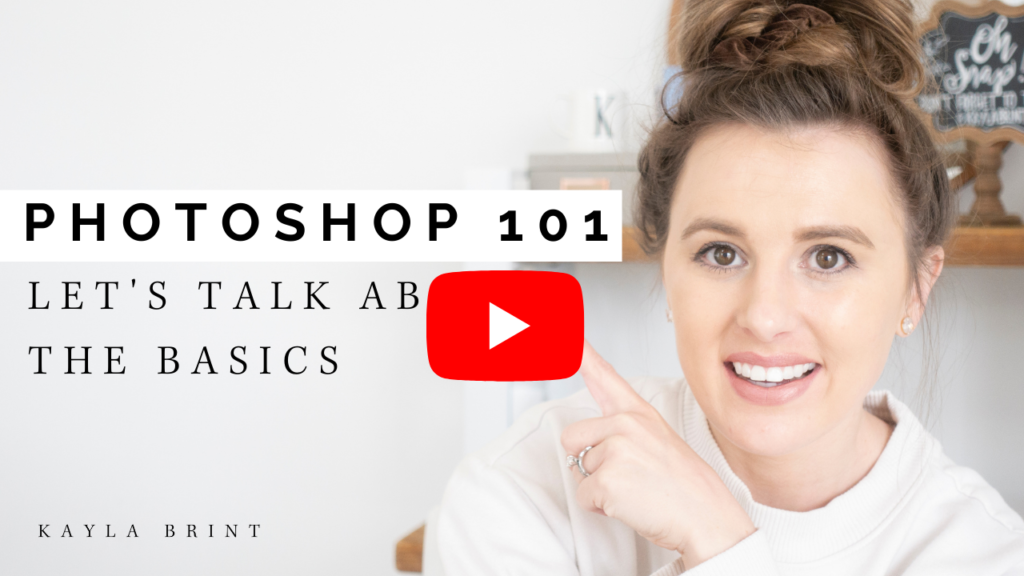
More of a visual learner? I show you everything I discuss here on my YouTube Channel- click below!
Basic Tools
Photoshop tip: you can hover your mouse over any tool (on the left side), and it will tell you the tool name and give you a description and example of what it does. See, Photoshop isn’t that scary after all! I show you exactly how I use these tools on my YouTube video.
V- Move Tool | This is your basic cursor in Photoshop. If you need to click around or move something, simply grab the Move Tool.
C- Crop Tool | I do most of my cropping in ACR, but you can do it in Photoshop as well.
J- Patch Tool & Healing Tool | My favorites! These tools are what I use to correct blemishes, and I use them all the time.
B- Brush Tool | You can apply colors/textures to any part of the image. I use this most to correct the background and clear up redness on the skin.
There you have it! The Basics of Photoshop. You now know exactly how to get your hands on Photoshop, what Adobe Camera Raw is, and the “need to know” Photoshop tools. Now, get to editing and make sure to tag me @kaylabrint when you post your photos so I can share them!
Want to get my course Editing Essentials for FREE? Join my FREE training- 3 Tips to Get Your Kids to Smile at the Camera and find out how you can get it today!


")


VIEW THE COMMENTS
add a comment