
")
Images too bright or too dark? I get it! I’ve been there and no matter what I changed my shutter speed and aperture too, my images still look terrible. If you need to learn more about aperture or shutter speed, I have a post on them too! In today’s post, ISO Explained | Stop Getting DARK Photos, I going to explain exactly what ISO is and what to set it to.
Full disclosure: learning to use a camera isn’t hard. Teaching it is hard. However, I’ve cracked the code and have taught countless students to use a camera in full manual mode. It takes hours. Which we don’t have here but I do offer in Mom Photography School. Click here to read more my signature course, Mastering Manual Mode.
What is ISO?
ISO measures the sensitivity of the camera sensor to light. Did your eyes just glaze over? Stay with me here. Let’s talk about the good ol’ film days. When the photographer got out his/her camera, the first thing they did was figure out the right film to load in their camera for the lighting situation. A cloudy day would be a different roll of film than a bright and sunny day. The ISO of the film was different. How did they choose which film to load?
High ISO = when it’s dark
Low ISO = when it’s bright
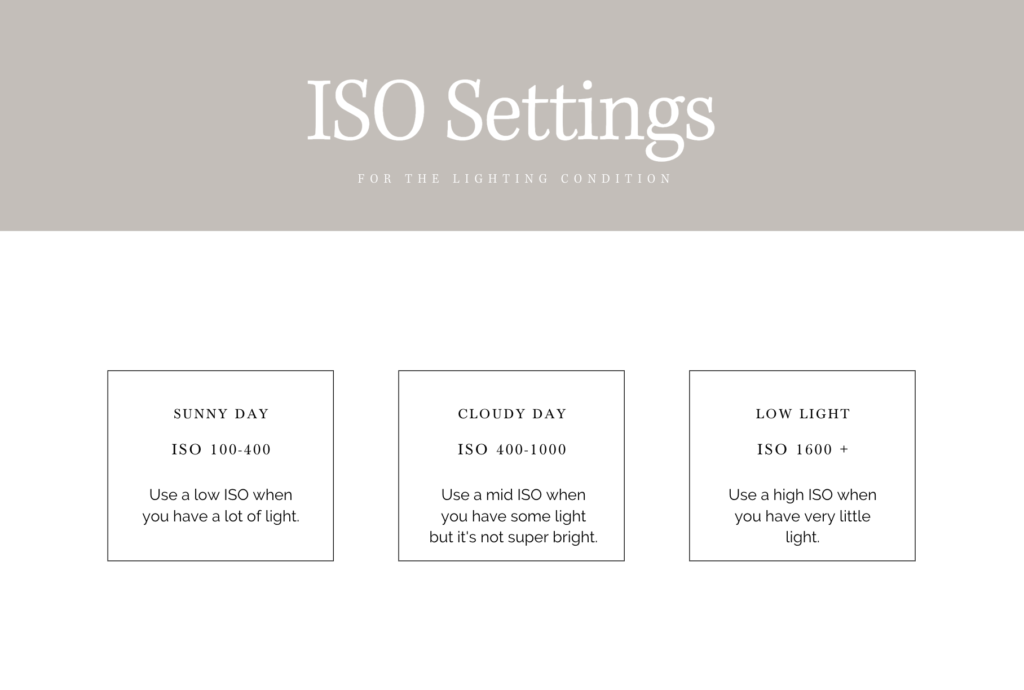
This is a guide for what to set you ISO at for the lighting condition. Note: this is just a guide and is not a rule. I’ve shot at ISO 500 on a sunny day before. However, this is a good starting place. Click here to get my free ISO cheat sheet that includes this chart.

ISO Best Practice
Set your ISO first. Before you dial in your other settings (aperture and shutter speed) set your ISO first.
The higher your ISO, the more grainy (or noisy) the image will become. Grainy photos are not a terrible thing but you do want to minimize the grain as much as possible. To accomplish this, always you the lowest ISO possible.
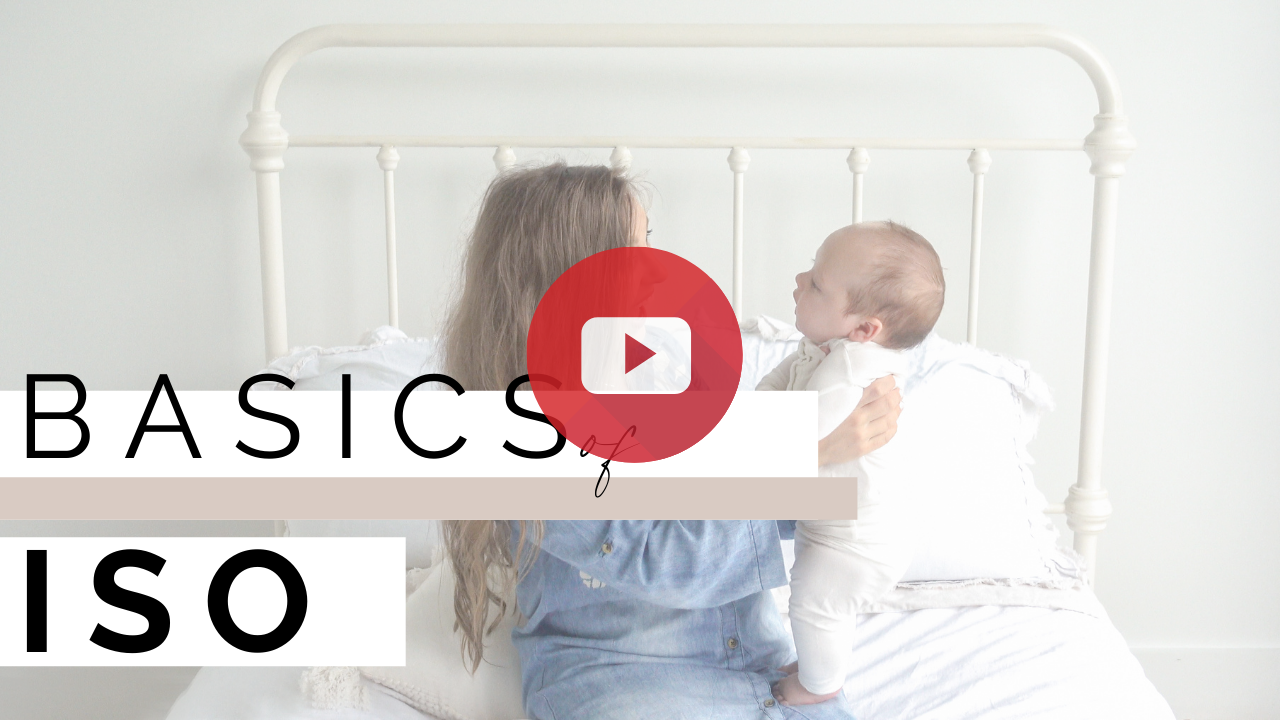
More of a visual learner? Hop over to my YouTube channel where I talk all about ISO.
So there you have it, ISO Explained | Stop Getting DARK Photos. Granted, there is much more to ISO than what I discussed today. To fully understand ISO (and get a good image), you need to understand aperture and shutter speed as well. Interested in FINALLY learning to use your camera? Come joining me in Mom Photography School for only $35! Click here to read all about how much moms all over the country have gotten amazing results with MPS.
Hi, I’m Kayla Brint – mama to two busy boys, Southern home cook, and host of The Deviled Egg Society Podcast. Around here, I share family-tested recipes that bring comfort (and a little nostalgia) straight to your table, plus stories and conversations that celebrate life, home, and community.
Whether you’re looking for the best cast iron cornbread, a weeknight dinner in under 30 minutes, or a podcast episode that feels like chatting with a friend over sweet tea – you’ll find it here. Pull up a chair, grab a plate, and welcome to my corner of the internet.


")


VIEW THE COMMENTS
add a comment