

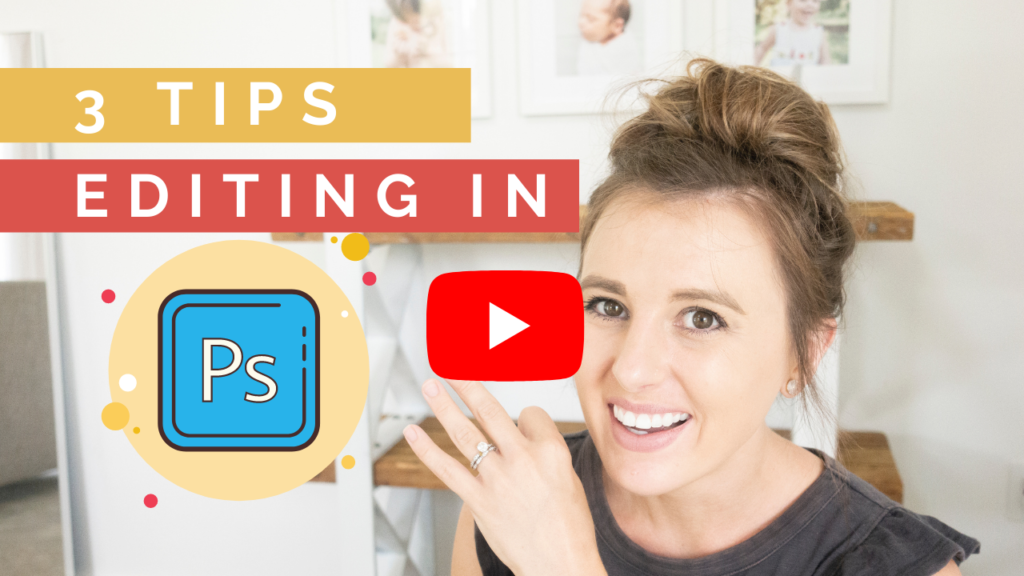
If you know me, you know I am a Photoshop fan and not a Lightroom fan! This is a very unpopular opinion and you can read why I choose Photoshop over Lightroom here. Listen, as far as editing goes, Photoshop can do everything Lightroom can do… plus so much more! But I know what you are thinking, Photoshop is so complicated. I get it. This is why I am giving you 3 Tips for Editing in Photoshop in today’s post. I hope this will help you get started and see why I love it so, so much!
More of a visual learner? Check out my YouTube channel here!
Using Short-cuts
The first of the 3 tips for editing in Photoshop come from way back in 2011. I used to teach Photoshop to 7th graders and I started by teaching the tools AND their shortcuts first thing. I had never taught Photoshop to anyone before… so, I wasn’t sure if it was beneficial or not. Fast forward halfway through the year and WOW… those kids could edit with such ease. Using shortcuts for the tools saves so much time and makes your editing process way more enjoyable.
Adobe Camera Raw
I preach how I love to shoot in RAW because of a number of reasons (all of which you can read about here.) One of the main reasons I love shooting in RAW is because of Photoshop’s Adobe Camera Raw. Adobe Camera Raw is a “plug-in” of Photoshop (meaning it is kind of like an additional feature.) When you open a RAW file in Photoshop, ACR automatically opens. It reminds me so much of Lightroom. Usually, I can do most of my editing in ACR and never have to open up Photoshop. Super easy!
Also, you can edit JPEGs in Adobe Camera Raw as well. Of course, the image will be as easy to manipulate, but it definitely can be a great tool for fixing exposure and white balance.
Mask Layer
I use mask layers for advanced editing like face swapping. You can see a whole post on how I face-swap here. It took me forever to fully understand what a mask layer does. To put it simply, it’s like a more forgivable layer. Here’s an example- if you were editing a layer in photoshop and used the erase tool to get rid of a part of the photo, the photo would disappear. The only way you can get it back is to press control Z… and that’s not always helpful if you’ve made a whole lot edited.
The Mask Layer allowed you to use the brush tool (B) to add and subtract the layer. If you have the mask layer selected and you brush black on the layer, it will remove that part of the layer. To get it back, simply change the color to white. The layer will come back!
So there you have it! My 3 favorite tips for editing in Photoshop- know your shortcuts, use Adobe Camera RAW on both RAW images and JPEG, and use mask layers for heavy editing.
🚨 Need help with Photoshop Basics? Check out my course, Editing Essentials!


")


VIEW THE COMMENTS
add a comment