

DISCLAIMER: This post contains affiliated links. This means if you click on one of the product links, I’ll receive a small commission with NO extra cost to you. Your support allows me to continue creating content for you see here on my blog. ❤️ Thank you from the bottom of my heart for your support!
Prints. Are we still doing prints? Is that even a thing? Well, the answer is yes and no. Sadly, people are not printing photos like they used to. That is all fine and hunky-dory for now. But in 50 years, how are we going to feel about this decision? No one is just going to “happen” across your iCloud photos. Even if they did, we both know it’s full of screenshots and memes. #whereisthelie Printed photos are essential to documenting your family history. You, mom, yes, you reading this right now… you could be raising the next president of the United States of America or the person who cures cancer. Will we have any of their childhood photos to share in 40 years? You will if you follow these 5 steps to organizing prints.
I have more posts on printing photos including my favorite things to do with prints and the best place to order prints.
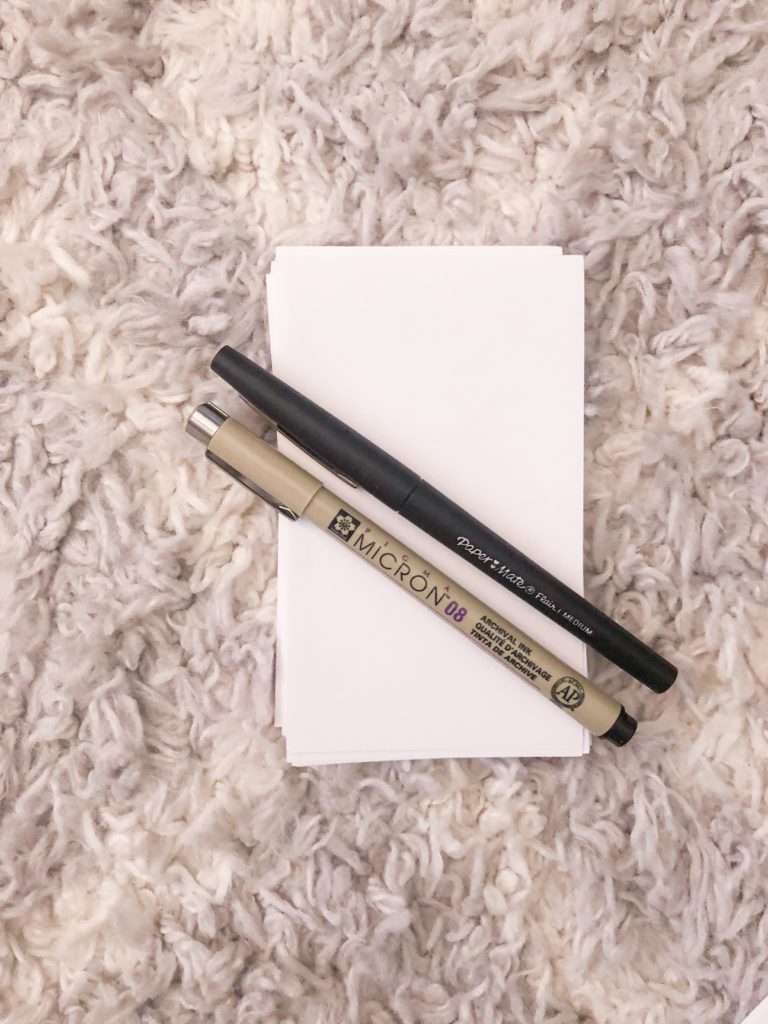
First, we need to gather some supplies: notecards, a pen, an acid-free (archival) pen, a container or box to store the photos in.
1. Gather all the prints.
When I was doing this I realized I had photos all over the place. Some prints were in each of my son’s rooms tucked away in drawers. I had school portraits in a completely different place. Seriously, there were photos all over the house. Choose a large, clean place (away from little hands) and place all the photos there. I sorted mine on the floor when my kids were not around. No matter where you do it, make sure you have plenty of room and check all the places they might be hiding before you start organizing prints.
2. Categorize them by an event.

You will notice many of the photos are probably from the same event- maybe a wedding or a baby shower. Stack all photos from the same event together. Put all school/dance/sports photos will go in their own stack together. There most likely will be some photos that you have no idea who they are or when they were taken. Keep all of those photos together.
3. Organizing prints by year.
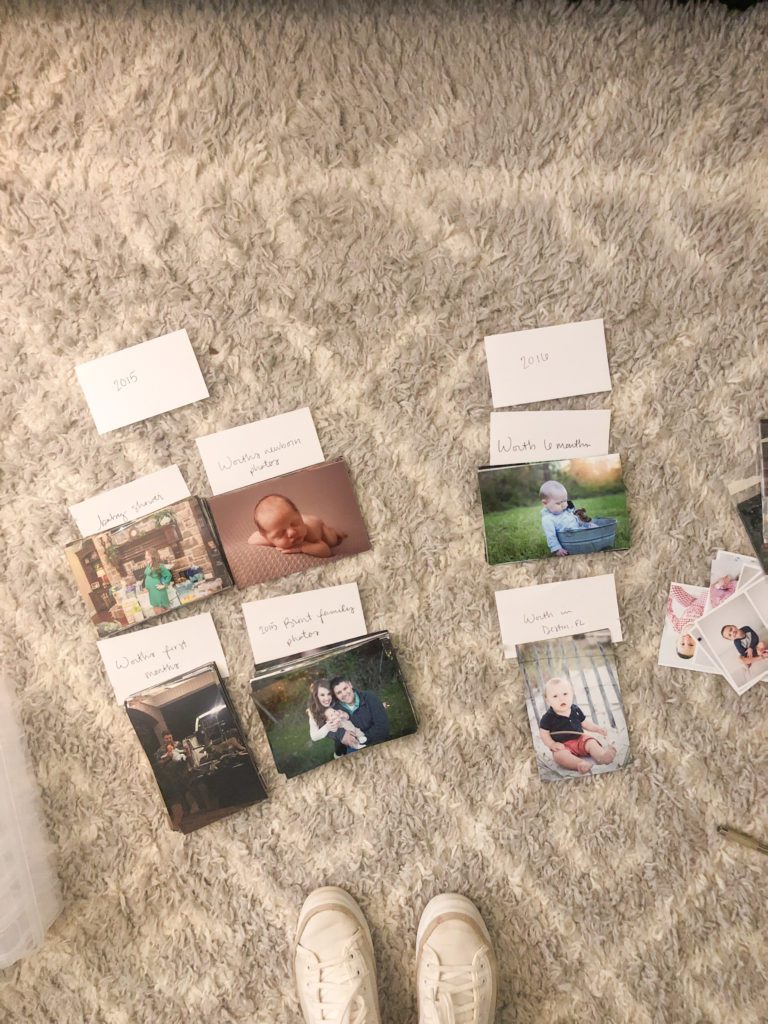
On your note cards, write the years of the photos that you have. I knew the baby shower for my son was in 2015- the year he was born. I wrote 2015 on a notecard and put the baby shower photos, hospital photos, and any other photos that were taken that year under that notecard.
A lot of the time, the date is printed on the back of the photo.
4. Write on the back.
Why are we keeping all of these photos if one day the people looking at them don’t know who’s in them or when it was taken. This step may not be able to happen all at one time and it’s definitely the most time-consuming part of organizing prints -that’s ok. Make sure you use an acid-free archival pen. The ink of these pens doesn’t smear and won’t bleed through the photo over time.

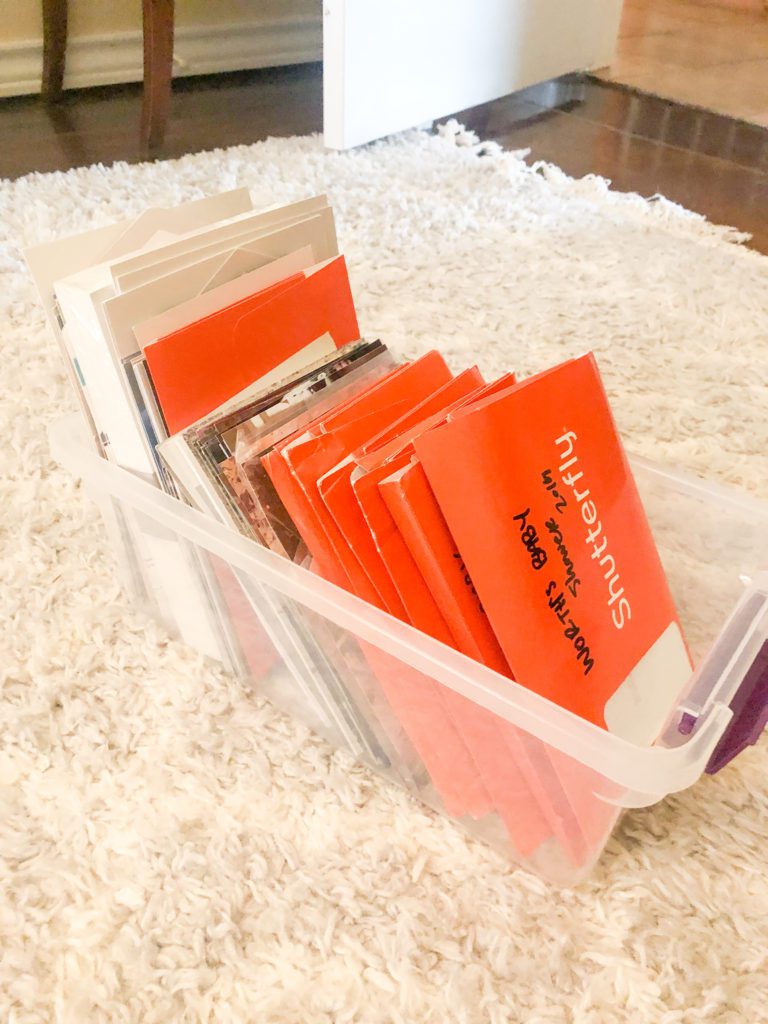
5. Store them.
I found this awesome photo organizer on Amazon and it’s so life-giving. I put different events in each of the containers. To keep it organized, I added the notecard with the year to that container.

Printed photos are still a thing, y’all! And so important. Yes, it can seem overwhelming. Just use these 5 steps, and you will have them all organized and ready to enjoy for yourself and for generations to come. Make sure to tag me on Instagram @kaylabrint when you are shorting through your prints! I’d love to cheer you on.


")


VIEW THE COMMENTS
add a comment